
Every SaaS product today sends transactional emails to customers when a specific action is taken. Examples include adding an item to a cart, abandoning the cart, exceeding subscription limits, and so on. I accidentally discovered Sendinblue while searching for tools to send these types of emails, and I was able to get it up and running quickly with Serverless Cloud. In this post, I'll walk you through setting up a welcome email flow with Serverless Cloud and Sendinblue.
Get Started with Serverless Cloud and Sendinblue
Both Serverless Cloud and Sendinblue offer generous free tier options that can be beneficial in the early stages of your business. Sendinblue allows you to send 300 transactional emails per day and Serverless Cloud allows 100K requests per month. You don't need a credit card to make an account; all you need is a valid email address for both services.
When you create an account in Sendinblue, you can create a test contact (or import your existing contacts) from this menu. Then, create an API key that we will be using in the following steps while building the automation with Serverless Cloud.
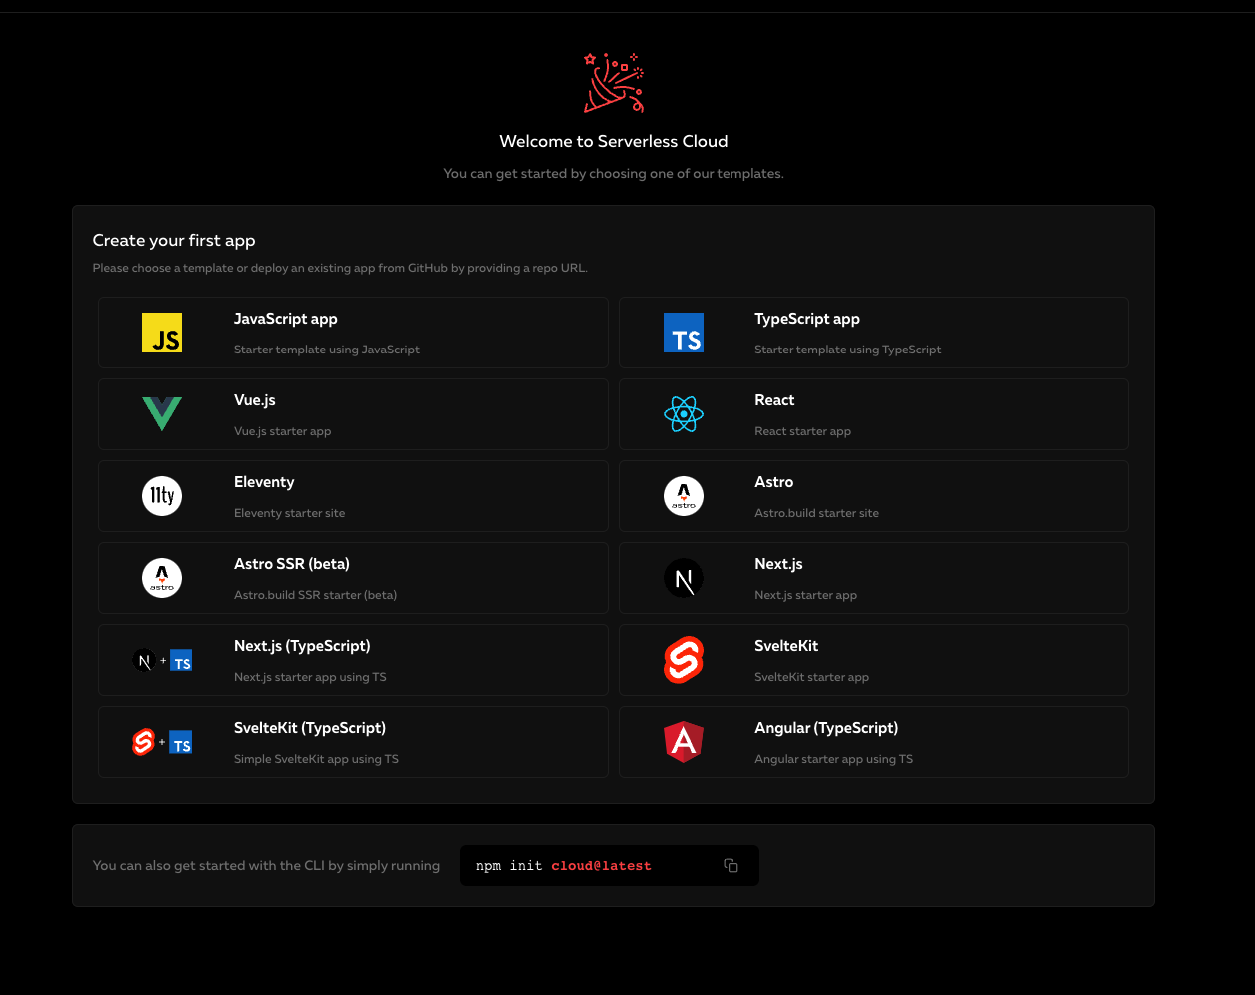
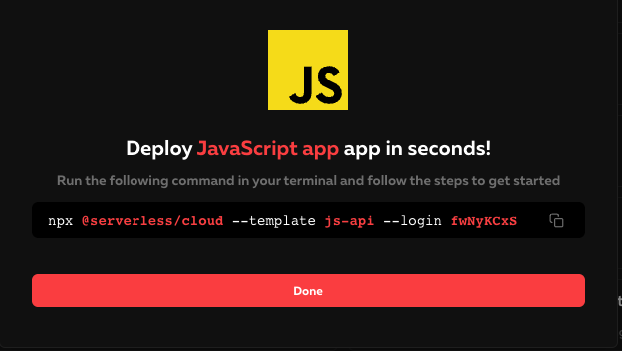
When you sign up for Serverless Cloud, you'll be asked to name your organization, and you'll be able to create your first application. Select "Javascript app" and run the npx command to boot your Serverless Cloud development environment via the CLI in less than a minute.
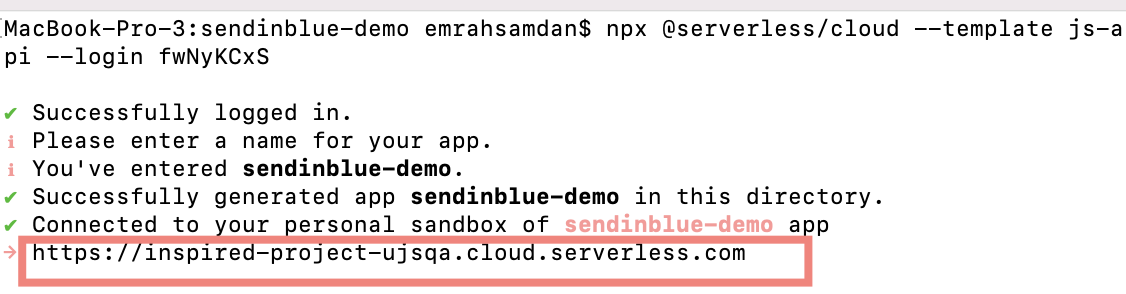
Here’s how my terminal looks after I've finished creating my first application. Serverless Cloud launched my developer sandbox, which is linked to a live URL ending in "cloud.serverless.com." More information about developer sandboxes can be found here.
Hello world with Serverless Cloud + Sendinblue
After setting up our Serverless Cloud and Sendinblue accounts, we’re ready to send our first email using the Sendinblue API. In order to use Sendinblue programmatically, we need to install their SDK to our project. You can do this without leaving the Cloud Shell with the “install” command. Just type “install sib-api-v3-sdk” and you’ll be ready to start building.
import { api, data, params } from "@serverless/cloud";
import SibApiV3Sdk from  "sib-api-v3-sdk" ;

const apiInstance = new SibApiV3Sdk.TransactionalEmailsApi();
const sendSmtpEmail = new SibApiV3Sdk.SendSmtpEmail();
var defaultClient = SibApiV3Sdk.ApiClient.instance;
// Configure API key authorization: api-key
var apiKey = defaultClient.authentications['api-key'];
apiKey.apiKey = params.SENDINBLUE_API_KEY;

api.post("/signup", async (req, res) => {
  const {email, firstName, lastName} = req.body;

  const result = data.set(`user:${email}`, {
    email,
    firstName,
    lastName
  })
  const sendSmtpEmail = {
    sender:{
      name:"Sender Emrah",
      email:"emrah@serverless.com"
   },
    to: [{
        email: 'emrahsamdan@gmail.com',
        name: 'Emrah Samdan'
    }],
    subject:"Hello world",
    htmlContent:"Hello,This is my first transactional email sent from Sendinblue.",
    headers: {
        'X-Mailin-custom': 'custom_header_1:custom_value_1|custom_header_2:custom_value_2'
    }
};

apiInstance.sendTransacEmail(sendSmtpEmail).then(function(data) {
  console.log('API called successfully. Returned data: ' + data);
}, function(error) {
  console.error(error);
});

  res.send({message: "mail sent!"});
});
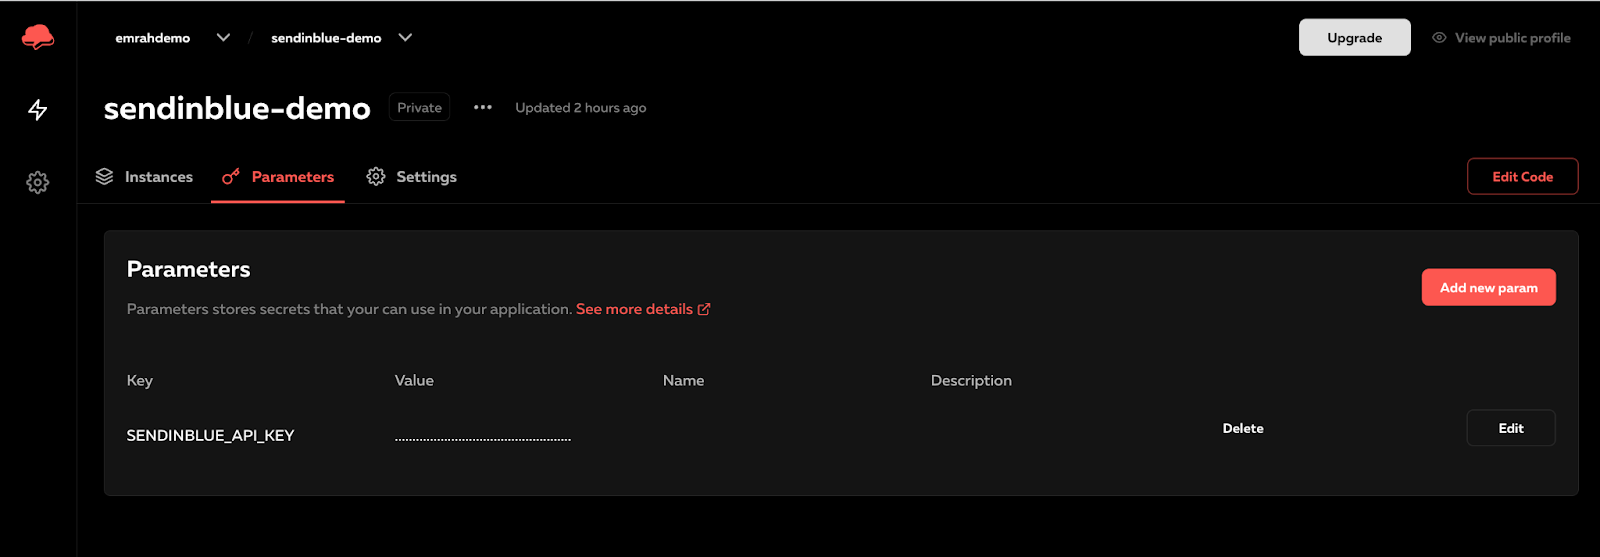
As you can see above, we import Serverless Cloud's 'api' and 'params' interfaces to get our Hello World example up and running. We create a "/signup" endpoint that accepts POST requests and sends our first transactional email using the Sendinblue API. To run this code without error, we must save the API key obtained from Sendinblue in the preceding step as a parameter in Serverless Cloud. To do so, navigate to your application's "Parameters" tab in the Serverless Cloud Dashboard and add a new parameter key named `SENDINBLUE_API_KEY` and paste the API key you got from Sendinblue. If you need to rotate your API Key in the future, you won't have to restart or re-deploy the application; it will simply dispatch the new value during runtime.
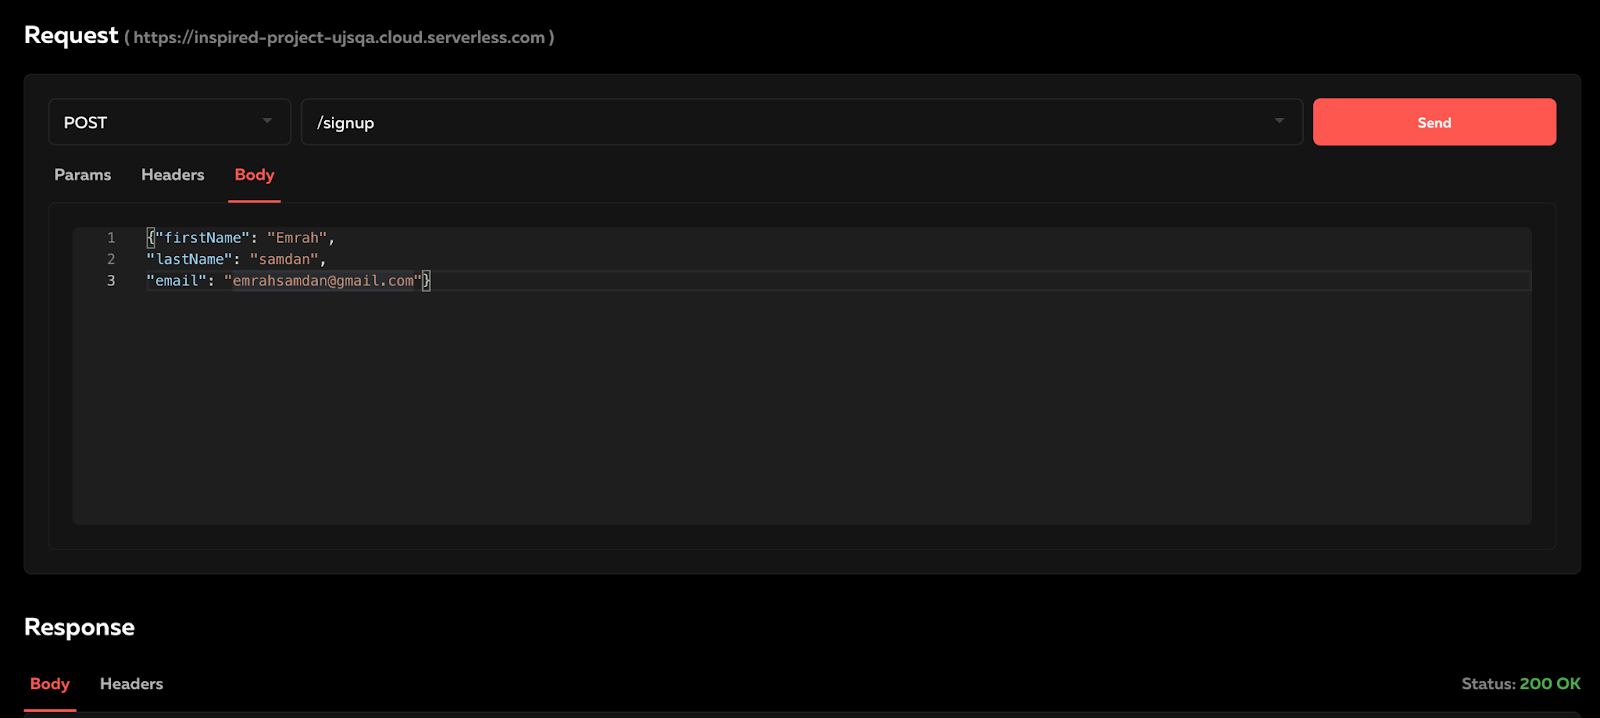
In order to test our first endpoint, we need to send a POST request to it. You can always do it with curl or a tool like Postman, but Serverless Cloud provides built-in functionality called “Interact”. As the name suggests, it allows you to easily interact with the endpoints you created. Simply navigate to your developer sandbox's "Interact" tab and make a call to your endpoint from there. As you can see below, I created sample data for our /signup endpoint. You can inspect the request payload and parameters, as well as the response body and headers.
Here we are! We've sent the first transactional email with Sendinblue API and Serverless Cloud, but we're not done yet.
Sending a better-looking email asynchronously
We have successfully sent a transactional email with Sendinblue, but we haven't achieved our purpose of sending a welcome email to a new user yet. We need to:
- save the user to our DB for the future
- save this user to our CRM
- send a good-looking transactional email that we can track later on in the Sendinblue dashboard.
Let’s use Serverless Data to save our user into the database. Similar to `api` and `params` interfaces, `data` interface gives us a powerful, super fast, automatically and ultimately scalable K/V store with no infrastructure configuration. In our example, we’ll save the user to Serverless Data with a `user:` prefix so that we can run queries on that later on.
import { api, data, params } from "@serverless/cloud";
import SibApiV3Sdk from  "sib-api-v3-sdk" ;

const apiInstance = new SibApiV3Sdk.TransactionalEmailsApi();
const sendSmtpEmail = new SibApiV3Sdk.SendSmtpEmail();
var defaultClient = SibApiV3Sdk.ApiClient.instance;
// Configure API key authorization: api-key
var apiKey = defaultClient.authentications['api-key'];
apiKey.apiKey = params.SENDINBLUE_API_KEY;

api.post("/signup", async (req, res) => {
  const {email, firstName, lastName} = req.body;

  const result = data.set(`user:${email}`, {
    email,
    firstName,
    lastName
  })
  const sendSmtpEmail = {
    to: [{
        email: email,
        name: firstName
    }],
    templateId: 1,
};

apiInstance.sendTransacEmail(sendSmtpEmail).then(function(data) {
  console.log('API called successfully. Returned data: ' + data);
}, function(error) {
  console.error(error);
});

  res.send({message: "mail sent!"});
});
As seen above, it’s just a `.set()` command that takes single-digit ms to save a record to Serverless Data. But wait, where did our email code go? I decided to move it to the data change handler because I don’t want our API to fail if Sendinblue has any issues. Also, it’s always wise to use async patterns in order to respond to users faster. This brings us to the event-driven nature of Serverless Cloud. As you can see below, the data handler is defined with the `created:user:*` filter. This will dispatch an event when a user record is created. You can define as many data handlers as you want for the “created”, “updated”, and “deleted” data event types. If events fail to process for some reason, Serverless Cloud retries it for you for 24 hours with exponential backoff and then eventually drops the event. You can read more about data events here.
import { api, data, params,events } from "@serverless/cloud";
import SibApiV3Sdk from  "sib-api-v3-sdk" ;

const apiInstance = new SibApiV3Sdk.TransactionalEmailsApi();
const sendSmtpEmail = new SibApiV3Sdk.SendSmtpEmail();
var defaultClient = SibApiV3Sdk.ApiClient.instance;
// Configure API key authorization: api-key
var apiKey = defaultClient.authentications['api-key'];
apiKey.apiKey = params.SENDINBLUE_API_KEY;

api.post("/signup", async (req, res) => {
  const {email, firstName, lastName} = req.body;

  const result = data.set(`user:${email}`, {
    email,
    firstName,
    lastName
  })

  res.send({message: "user signed up!"});

});

data.on("created", async(event) => {
  const record = event.item.value;
  const contactsApiInstance = new SibApiV3Sdk.ContactsApi();
  const createContact = new SibApiV3Sdk.CreateContact();
  createContact.email = record.email;
  createContact.attributes = {
    FIRSTNAME: record.firstName,
    LASTNAME: record.lastName,
  };
  contactsApiInstance.createContact(createContact).then(function(data) {
    console.log('API called successfully. Returned data: ' + JSON.stringify(data));
  }, function(error) {
    console.error(error);
  });
  await events.publish("contact.created", {after: "10 seconds"}, record);
});
You may have noticed that the above code does not really send an email. It simply adds the user to our CRM on Sendinblue as a contact. We did this because we wanted to use Sendinblue's email templates with contact properties. But when and how will we finally send the email? If you look at the last line of the data handler, you'll notice that we're using the 'event.publish' function to publish an event called 'contact.created'. We wanted to make sure the contact is created and wait 10 seconds before sending our email. This brings us to our fourth and final Serverless Cloud interface: 'events.' Serverless Events enables developers to create event-driven workflows in the simplest way possible. We can see that this event will be dispatched 10 seconds after it is published. Serverless Cloud offers a variety of options for delaying the event for up to a year in the future. You can use epoch times, date strings, or relative time, as I do (see the docs).
events.on("contact.created",async({body}) => {
 const sendSmtpEmail = {
  to: [{
      email: body.email,
      name: body.firstName
  }],
  templateId: 1,
};
apiInstance.sendTransacEmail(sendSmtpEmail).then(function(data) {
console.log('API called successfully. Returned data: ' + data);
}, function(error) {
console.error(error);
});

console.log ("welcome email sent!");
});
As shown above, we are now sending our transactional email in our event dispatcher defined as `events.on`. Note that Serverless Events will get retried for 14 days if they fail. Be sure to implement the flow that handles the failure logic.
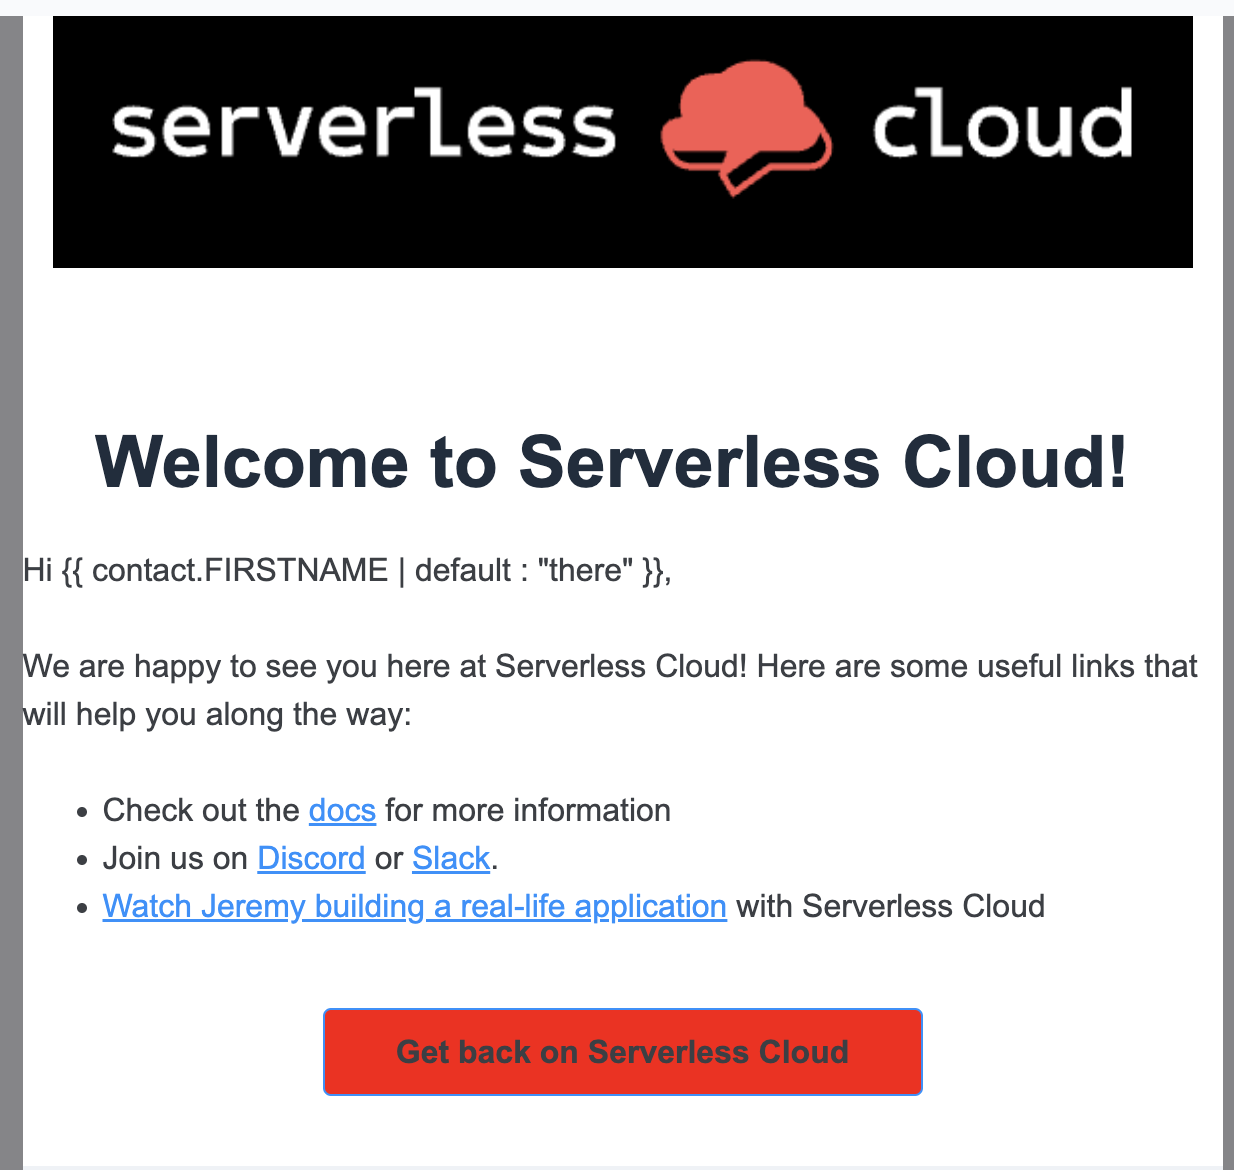
Notice that we are using a template with id 1 in the above example. This brings us back to the Sendinblue dashboard where we’ll create an email template for transactional emails. As you can see below, Sendinblue lets us create an email using several design templates and personalization capabilities. They can even design a custom email template for you.
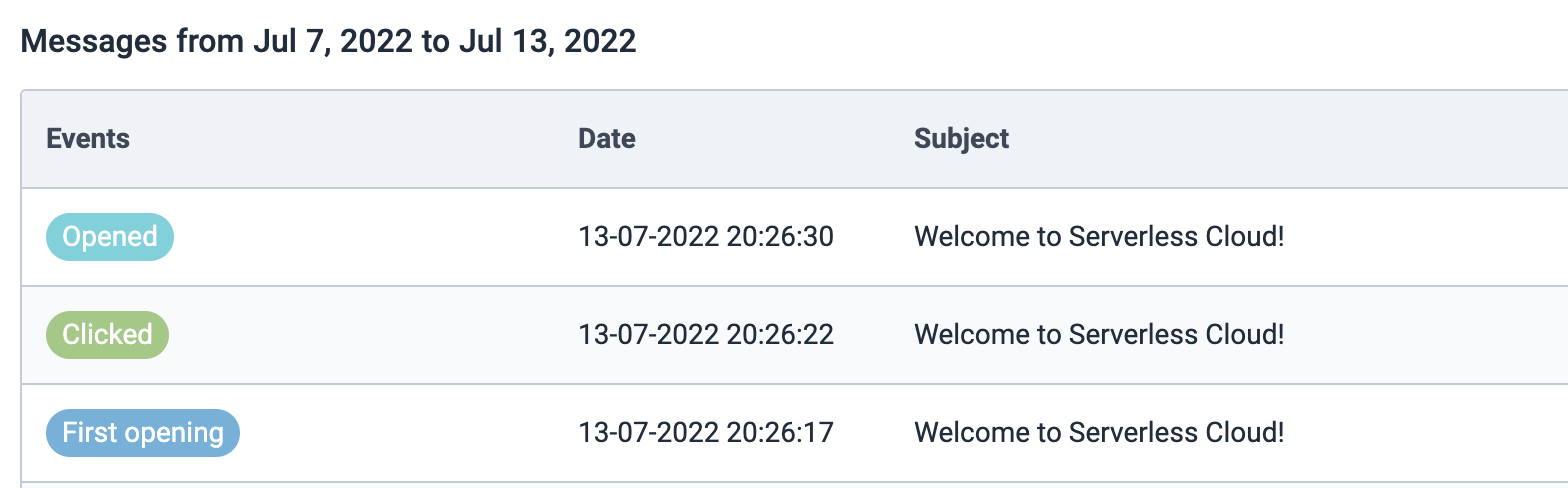
The nice thing about transactional emails is that you can track whether or not the email is actually delivered or the links in it are clicked. You can even set up workflows with respect to the actions taken on transactional emails.
Deploying to Production
Once you’re sure that everything is working properly in your personal sandbox, you are now ready to deploy to production.. This will deploy your changes to a completely isolated, separate working environment that is unaffected by future changes to your personal sandbox. You can deploy to production by using the cloud shell and running the "deploy production" command, which will return a new url for your production application.

Wrapping up
We now have an app that sends transactional emails with Sendinblue. There are hundreds of ways to improve our workflow using Serverless Cloud and Sendinblue, but let’s stop here to keep this short. We’ve built an event-driven application with an endpoint, a data change handler, and events handler. Then, we have deployed this application to production. See the full source code here. If you want to build your own event-driven application with Serverless Cloud, you can sign up and get started for free.