
Serverless Cloud lets you build apps easier and faster than anyone else, giving you everything you need to go live. Upstash offers a simple low latency global data storage solution similar that integrates perfectly with Serverless Cloud. So I wanted to give you a walkthrough on how easy it is to use both Serverless Cloud and Upstash together to easily and quickly offer your users the app performance they deserve.
Creating the Serverless Cloud App
Create a new empty directory called cloud-upstash, then open this new empty directory in your favorite IDE. This will be the directory containing your app files. Then, using your IDE built-in terminal, initialize a new Serverless Cloud project by entering the following command:
npm init cloud
You may be prompted to login if you haven’t already, then the CLI will ask you to select a template to get started with. Choose the JavaScript app template.
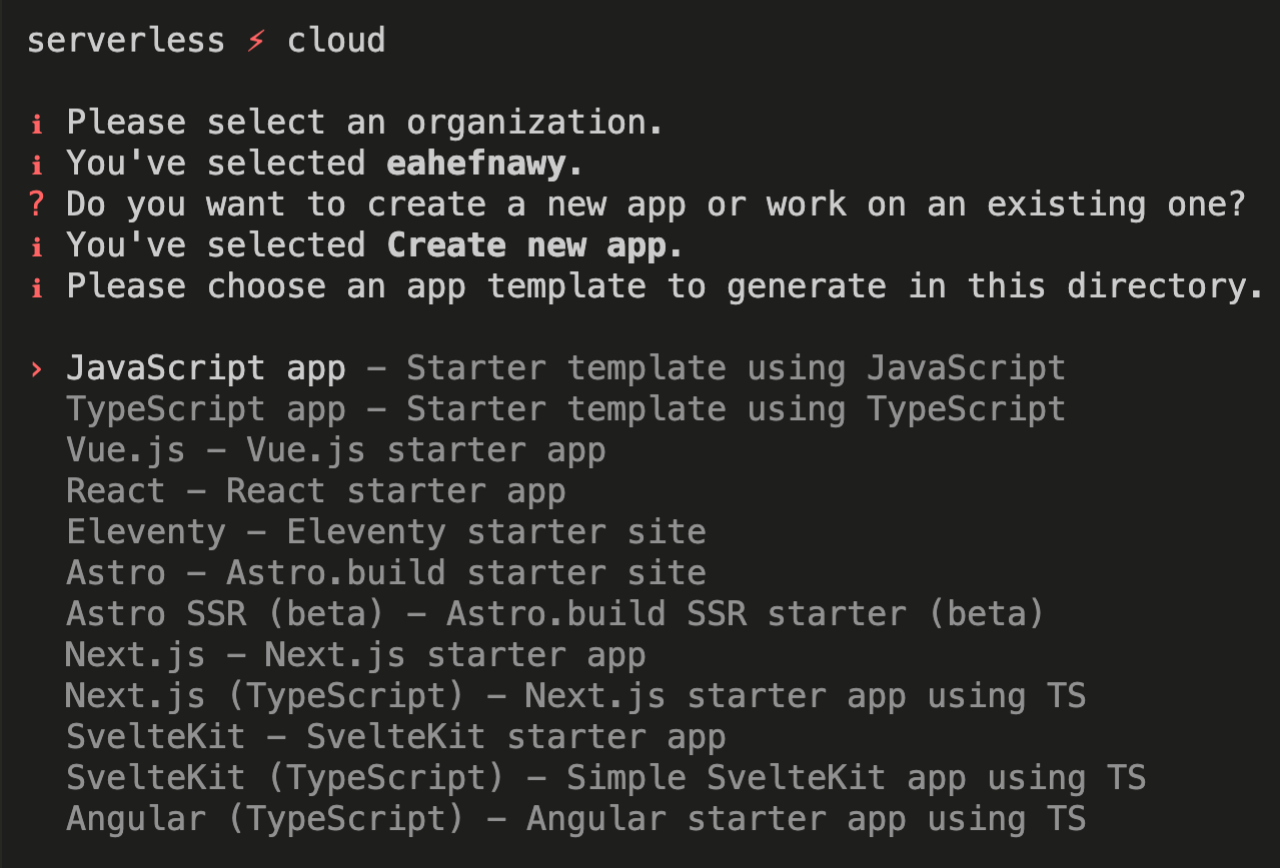
After you make your selection, your new app will be generated in the directory you just created, and the CLI will start the development sandbox where you can run further commands.
Creating the Upstash Redis Database
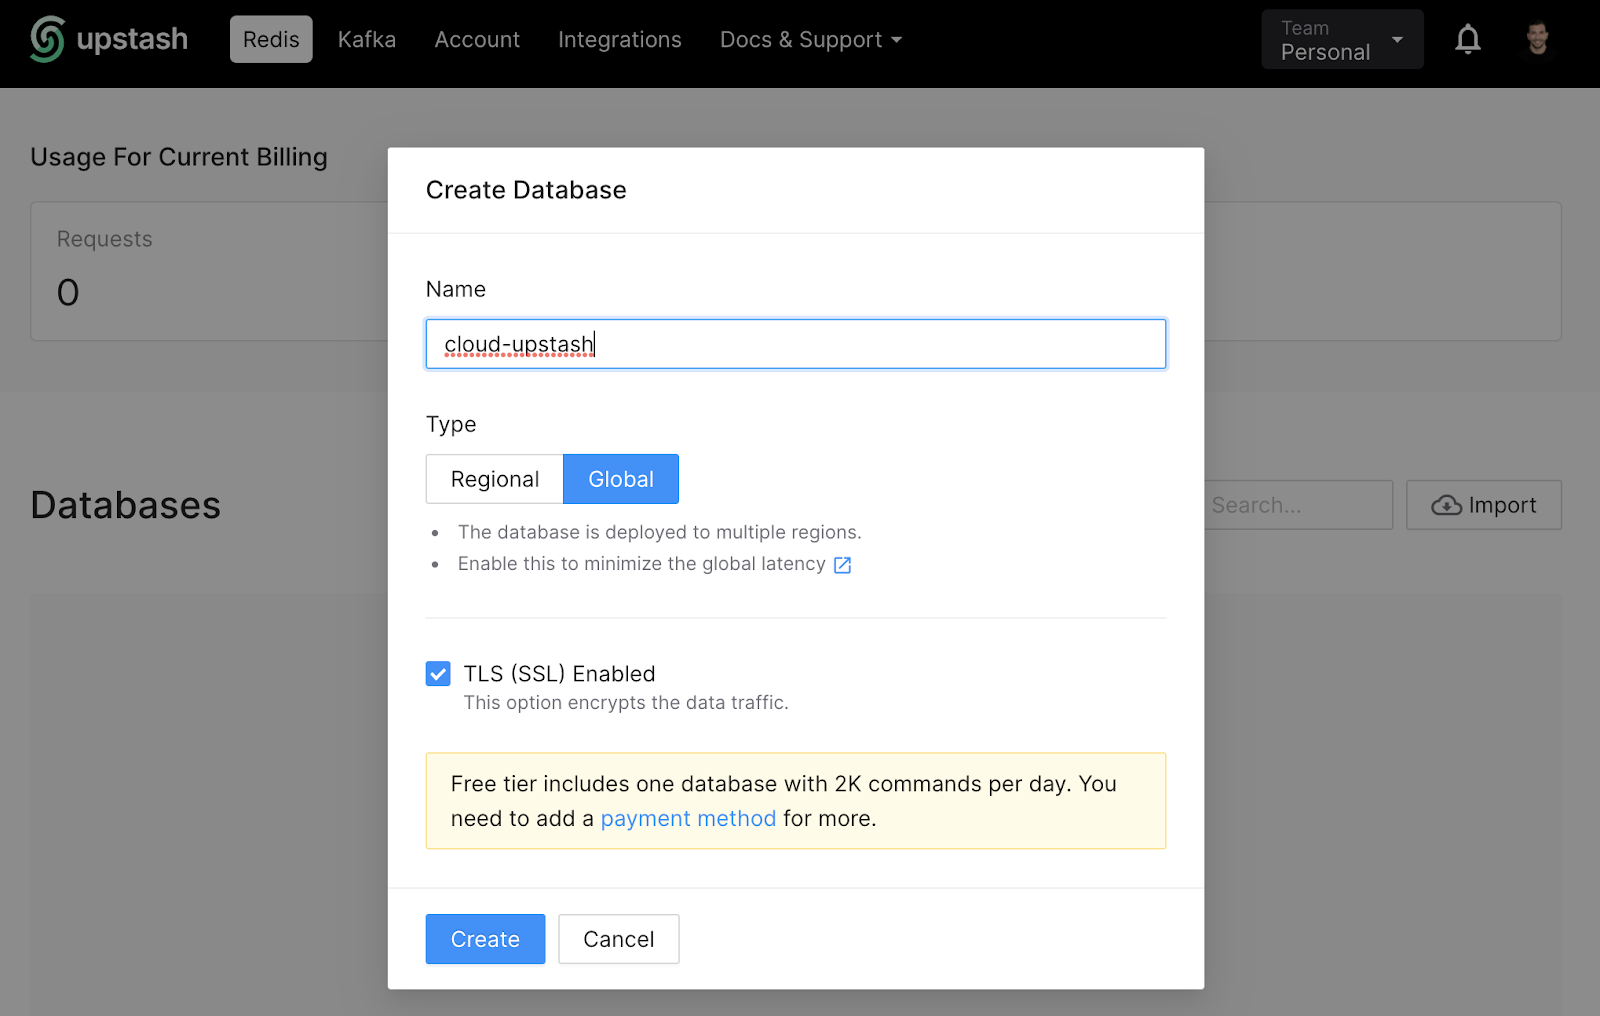
You’ll need to create a global Upstash Redis database with the Upstash Console. Just enter a name, choose “Global”, and enable TLS for a secure connection.
After a while, your database should be created, and you’ll be redirected to your database page. Next, seed some data by clicking on the “CLI” tab, and running the following command:
set users '[{ "id": "12", "name": "John Doe"}, { "id": "13", "name": "Jane Smith"}]'
Integrating Your App with Your Database
With the Serverless Cloud shell open, install the upstash redis client by running the install @upstash/redis command, which will also update your development sandbox.
Then, get back to your database page in the Upstash Console, scroll down to the “Rest API” section, and click on the @upstash/redis tab to view the sample code.
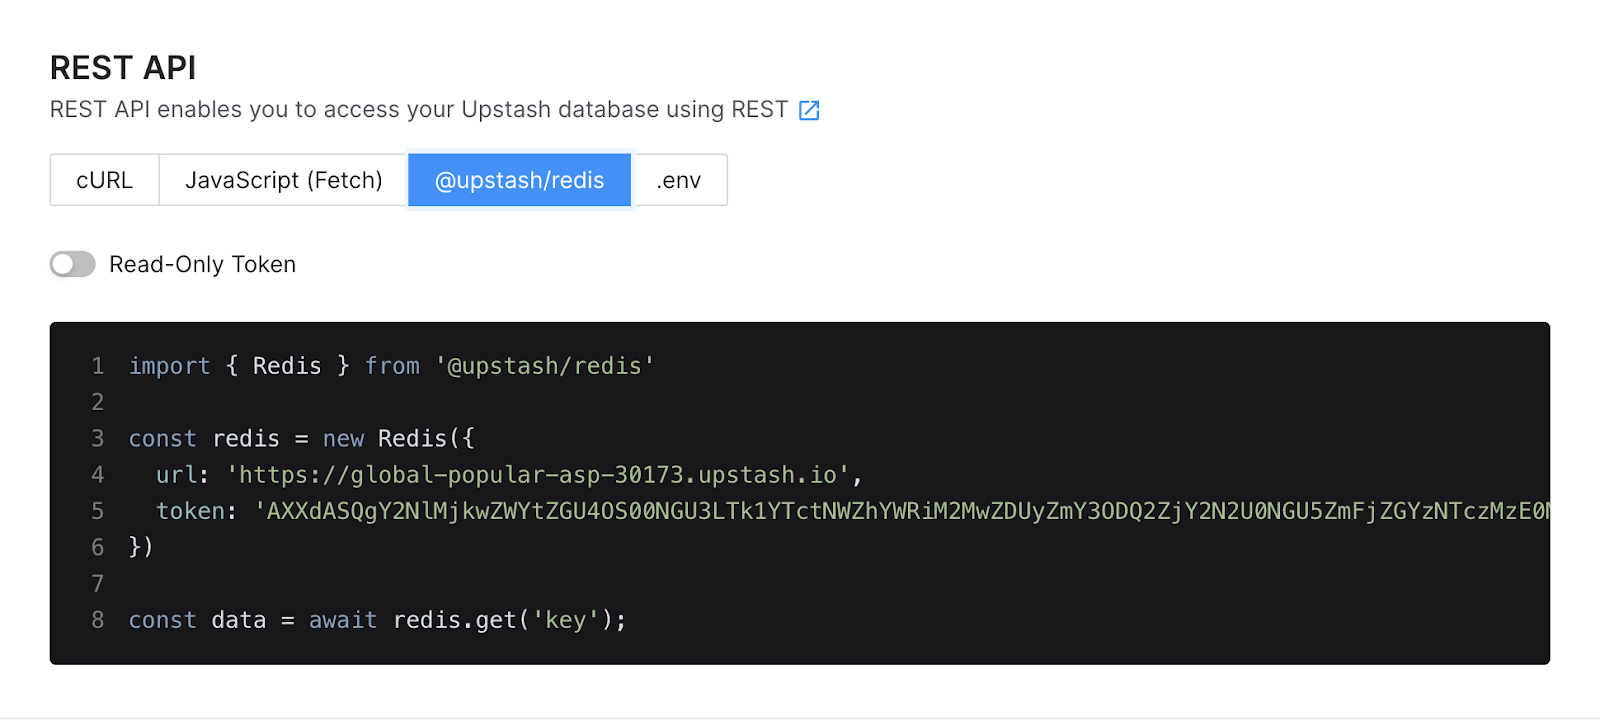
Copy the code over to the index.js file that was generated in your app, and tweak it a little to fit into a /users endpoint. It should look like this:
import { api } from "@serverless/cloud";

import { Redis } from "@upstash/redis";

const redis = new Redis({
  url: "xxx",
  token: "xxx"
});

const data = await redis.get("users");

api.get("/users", async (req, res) => {
  res.json(data);
});
Now open the /users endpoint in the browser to test the integration. You should see the list of users we seeded earlier in the Upstash Console.
Securing Your Credentials with Parameters
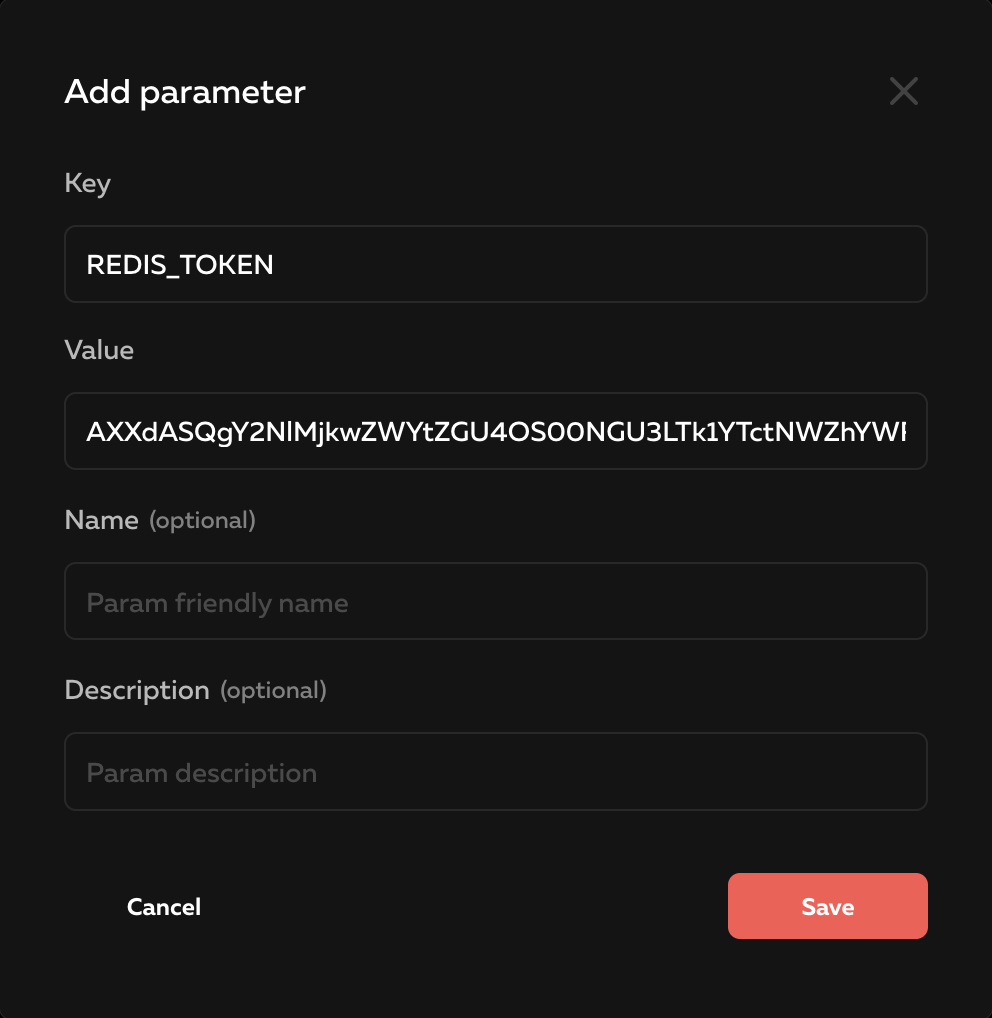
Even though we’ve successfully integrated Upstash with Serverless Cloud, our current implementation is not secure since we’ve hard-coded your database url and token. Instead, we should set them up as parameters on the Serverless Cloud dashboard, and reference them in our code. To do that, run the open command in the Serverless Cloud CLI to open your app page in the Serverless Cloud Dashboard, then click on “Parameters” > “Add new param”. You’ll need to do that twice for both REDIS_URL and REDIS_TOKEN.
Then, get back to your index.js file, import the params module, and replace the values with a reference to the parameters names.
import { api, params } from "@serverless/cloud";
import { Redis } from "@upstash/redis";

const redis = new Redis({
  url: params.REDIS_URL,
  token: params.REDIS_TOKEN,
});

const data = await redis.get("users");

api.get("/users", async (req, res) => {
  res.json(data);
});
You’ve now correctly set up Upstash with Serverless Cloud, and you may now deploy your app to either dev or prod. Just run deploy
Summary
In this article, you’ve seen how easy it is to integrate Upstash into Serverless Cloud to give your application a low latency global store. We’ve created a Serverless Cloud app, an Upstash Redis database, and securely connected them together. You can view the complete example app in the examples repo. For more information, check out the Serverless Cloud docs, and the Upstash docs. If you have any questions, feel free to reach out on Twitter.