
If you’ve grappled with resizing images for various page layouts and devices, you know the pain of accounting for all different types of screens, the scaling problem that serving the full-size original image presents, and the fact that large images increase page load times and increase bounce rates. And the difference between an original image and a compressed one is essentially unnoticeable to the user.
And so it follows that you’ll want to generate and serve an image of lower but still good quality. However, it’s not possible to know in advance which image sizes to serve. And pre-scaling the original image to all imaginable sizes will result in an unsustainable hit to your cloud storage capacity and therefore to your monthly bill.
What if there were a way to easily build applications using functionality available from cloud providers, for example AWS Lambda, that could scale your images on the fly? The Serverless framework provides such a solution with its auto-scaling, pay-per-execution functions, which circumvents keeping a massive collection of pre-scaled cloud data. As an added bonus, maintaining multiple, often-idle servers is unnecessary when using the Serverless framework, so your app will save significantly on compute costs.
In this article, we'll take an in-depth look at the benefits of dynamic image resizing and walk you through using the Serverless framework to resize your images dynamically with AWS Lambda.
A solution using S3
In this example, we'll be using Ruby in conjunction with the Serverless framework to build our app. We’ll also use the AWS cloud storage service, S3, but the Serverless framework also supports Azure, GCP and Kubernetes, among other cloud providers.
First, we’ll pick a few ranges of possible image sizes (for example, we'd serve one size image to screens 320-720px wide, and a slightly larger image to those 720-1024px wide). Then, we’ll build a system from event-driven functions that will generate the specified image sizes from the original photo.
When a device requests our site, if we don't have the correctly sized image yet, following the S3 link will first generate the image in that size and then serve it to us. This newly resized image is then stored in S3 for future use. If the correctly sized image in our S3 storage does already exist, calling the corresponding S3 URI will directly serve us the previously stored image.
We make the system smart by only generating image sizes requested by specific devices. If a particular article has only been viewed by 640px-wide screens, the Serverless app won't generate the rest of the sizes until someone with a different screen size comes along. The first reader with a 800px screen to load the article must wait for a split second while the system generates the new image size, but the user experience impact is minimal. Once the new size has been generated, we save it for future use.
Since you are not maintaining idle servers, if no users visit your site, no code will run and you won’t pay for anything. When new visitors do begin needing different image sizes, the system will scale, doing all the necessary work. But this approach is efficient: the system stops running as soon there are no more new images to generate. The Serverless framework also provides an optimal experience for users, as their devices get served the right size image in a timely manner. This approach thus offers an easy, low-cost and scalable solution.
Creating a Serverless API for image resizing
How exactly do we go about implementing the Serverless image-resizing API? In this section, we’ll cover the following steps:
- Writing a serverless.yml config file that contains all the specifics for the resizing service
- Generating and redirecting to a new image URL in a handler function
- Implementing the resizing logic in a resizing function
- Setting up an S3 bucket to work with the resizing endpoint
Writing the serverless.yml file
Our serverless.yml file defines the Ruby environment for our resizing function defined above. We first specify our cloud provider (AWS) and a Ruby version that works for us. We also give it the right IAM roles so that it can interact with S3.
provider:
  name: aws
  runtime: ruby2.5
  region: eu-west-1
  iamRoleStatements:
    - Effect: Allow
      Action:
        - s3:*
      Resource: '*'
Next, we define the function that we’ll expose (resize), along with the BUCKET and REGION environment variables. Let’s also add an event to our function, which in this case is an HTTP path that our function will work with. As you might imagine, {size} will become the size parameter here, and {image} will become the image parameter here.
functions:
  resize:
    handler: handler.call
    environment:
      BUCKET: resized-images-ruby
      REGION: eu-west-1
    events:
      - http:
          path: /{size}/{image}
          method: get
The handler function
Our image-resizing handler function itself will live in handler.rb. First, it will accept an HTTP request. After receiving this path, let’s extract the size and image from it:
size = event\["pathParameters"\]["size"]
image = event\["pathParameters"\]["image"]
By calling resizeImage.new on the size and image, we convert the parameters to integers and construct the new image URL where we can find the resized image after conversion:
resized_image_url = ResizeImage.new(image, size).call
The handler then returns an HTTP 301 redirect to the location of the new image once it’s been successfully generated.
{
      headers: { location: resized_image_url },
      statusCode: 301,
      body: ''
}
Aside from these elements, the only other code in handler.rb is our standard error handler. As you can see, in this file we simply call ResizeImage.new(image, size), but to keep things tidy, let’s put the resizing logic somewhere else. We’ll now switch to resize_image.rb to look at that underlying logic.
Image Resizing
The resizing functionality will live in the resize_image.rb file. First, we need to download the file that needs to be resized.
def download_object
  source.get(response_target: tmp_file_name)
end
We then define the function which actually does the resizing work.
def resize
  image = MiniMagick::Image.open(tmp_file_name)
  image.resize(size)
  image.write(RESIZED_FILE_TMP)
end
After that, we upload the resized object to S3.
def upload_object
  bucket.object(resized_object).upload_file(RESIZED_FILE_TMP)
end
Lastly, we wire the preceding three functions together.
def call
  download_object
  resize
  upload_object

  "#{BUCKET_URL}/#{resized_object}"
end
We need the rest of the definitions in resize_image.rb (after “private”) to make sure we have a clean way to do all the resizing work. These definitions hold temporary variables needed to name, resize, and upload the new image, but are not relevant in the final product, so keeping these private ensures the code stays clean.
Deploying the image resizing API
Our API is all set up, and we’re ready for deployment. One last step before running the deploy command is to set up the AWS credentials in the .env file in the root of the project. Take a look at the example .env file in the GitHub repo here. Please make sure that you don’t check the .env file into Git, as that might leak your AWS credentials. We have added this file to the list of ignored files in .gitignore to prevent you from accidentally publishing your AWS credentials.
Once the AWS credentials are set up, we can deploy the change(s) to our serverless.yml file by running
serverless deploy
This translates the syntax of our serverless.yml file into an AWS CloudFormation template and sends that change to AWS. For more on the deployment process, take a look at the Serverless AWS documentation.
Setting up the S3 bucket
As mentioned above, our Serverless function works with AWS S3, so we need to set up our S3 bucket that will store our already requested image sizes. The core functionality we want is as follows:
- If the image exists in the right size in the S3 bucket, return it to the requester.
- If the image does not yet exist in the requested size, download the original size, resize the image, return the resized image to the requester and save it in our S3 bucket.
To get this working, we will need to make the following changes in our S3 bucket configuration:
- Ensure our S3 bucket is configured for website hosting as explained in the S3 documentation.
- In the Advanced Conditional Redirects stanza of the Website Hosting settings for the S3 bucket, set up the following redirect rule:
<RoutingRules>
  <RoutingRule>
    <Condition>
      <HttpErrorCodeReturnedEquals>404</HttpErrorCodeReturnedEquals>
    </Condition>
    <Redirect>
      <Protocol>https</Protocol>
      <HostName>YOUR-API-ENDPOINT.execute-api.eu-west-1.amazonaws.com</HostName>
      <ReplaceKeyPrefixWith>dev-1/</ReplaceKeyPrefixWith>
      <HttpRedirectCode>307</HttpRedirectCode>
    </Redirect>
  </RoutingRule>
</RoutingRules>
In place of YOUR-API-ENDPOINT, we will add the Lambda endpoint of our Serverless function. We can get that by running:
serverless info
Keep in mind that if you specify a custom stage during deployment, you also need to specify it in the info command, the output of which is information about the deployed service. We are specifically looking for the right endpoint address in this output. See the docs for the info command for more details.
The API in action
We’ve set up our code, so let’s now take a look at our work in action. We’ll first request a size we know exists:
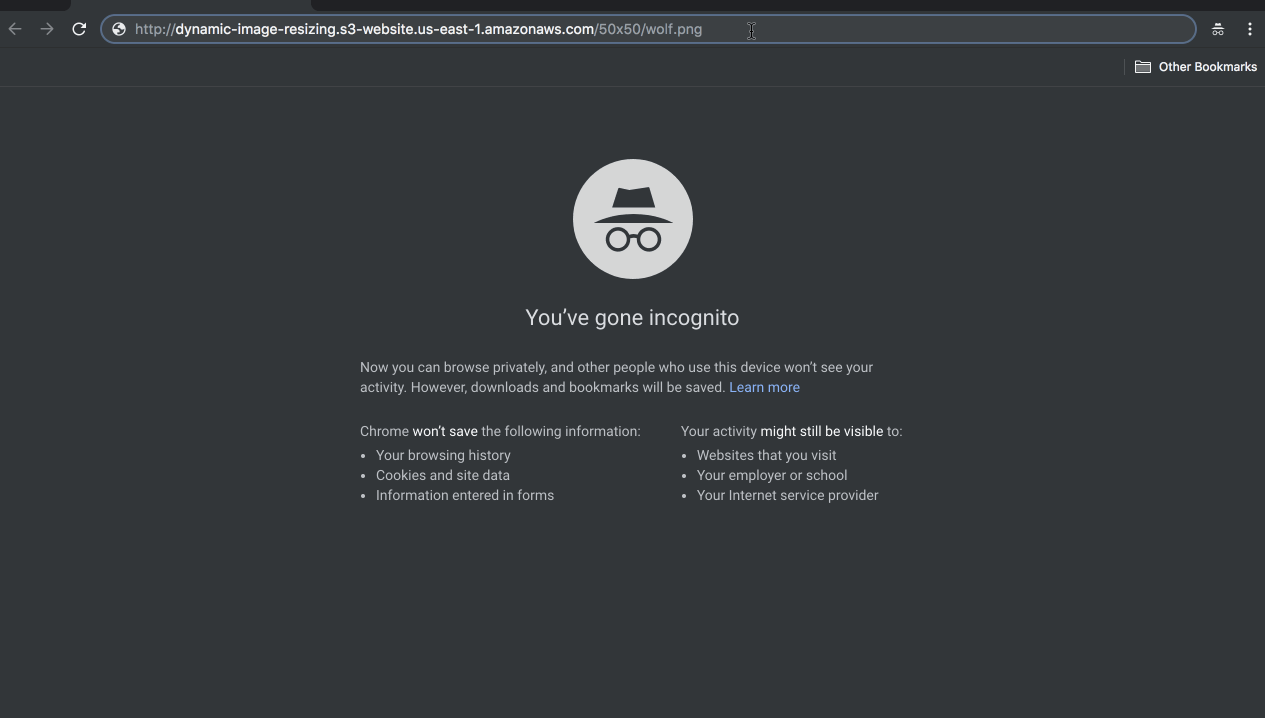
Now we’ll request the image in a size that doesn’t exist yet:

It works! The next time we request this size, the image will be served directly from S3.
Wrapping up
In this article, we saw that image resizing using Serverless keeps costs low, provides users with a good experience and scales images perfectly with our needs. We did this by walking through the process of creating a Serverless app that resizes images dynamically.
New users to Serverless will find that building an app for resizing images is a great introduction to the framework. But Serverless is also applicable to much more complex cases, such as event streaming and processing, building multilingual apps and workflow automation.
The Serverless Framework documentation is a great place to begin. You can also read the AWS-based introduction to the Serverless framework. If you’ll be using another cloud provider, Serverless can help you there too.
This Github repo contains the full example project.